How Do You Maintain a Vape Device: A Detailed Guide For Vape Maintenance
24th Aug 2023
Vape Device Maintenance: Let’s Dive Deeper
Having your Vape with you is just not enough, you need to keep your Vape Devices in Top-notch condition. It is very easy to get confused about how to do your vape maintenance. It is only natural that if you take good care of your vape and do your vape cleaning on time it will definitely last longer than you hoped it to be. Vape maintenance involves questions like “How to clean a vape pen atomizer” and “How to clean a vape pen mouthpiece”. It is very common and easy to get overwhelmed with such questions and queries.
This article will cover the Vape Maintenance tips that every vaper should know.
- Start by dismantling your Vape.
- Remove the pod and start with it.
- Start with cleaning the coils.
- Pick your pod and rinse it.
- Remove the tank from the main body and Clean it.
- Rinse the Tank With Clean Water.
- Let the Tank dry.
- Don’t keep your vape upside down.
- Remove the battery and clean it with Isopropyl alcohol.
- Now Wipe the outer side of the Battery.
How Do You Clean a Vape Coil?

Basic Steps:
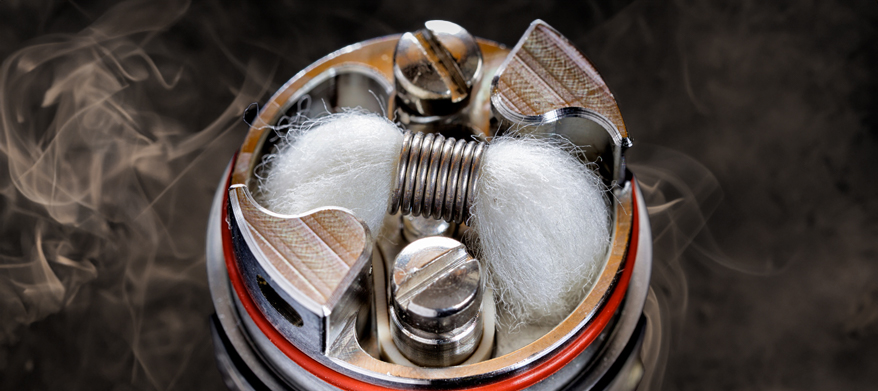
Well, naturally the first step to clean vape coils is to remove vape juice from the pod. Once it is emptied, you can start with the further process. Cleaning coils is a little more difficult. Replacement coils for vape devices are classified into two types: coil heads for tanks, which are contained in a tiny metal chamber containing an absorbent wick, and coils for rebuildable, which must be installed and wicked by the user. The methods for cleaning the two varieties are substantially different. Let us see how they differ.
Clean Replaceable Coils
Replaceable coil heads that come with premium sub-ohm tanks and clearomizers can be cleaned, but they will not be totally renewed. In the best-case scenario, you get a couple more days out of a worn-out coil head. The existence of wicks is the cause of this. Allowing unclean coils to soak and be washed will remove part of the residue, but not all of it. You will have to wait for the wick to dry off completely before you start vaping again.
- Allow your coil to soak for at least a couple of hours in ethanol, vinegar, or cheap vodka.
- Rinse it under the faucet.
- Rinse with distilled water one more time.
- Blow air into your coil's open side to drive water into the wicking holes.
- Set it aside until the water has completely evaporated.
Cleaning Rebuildable Coils

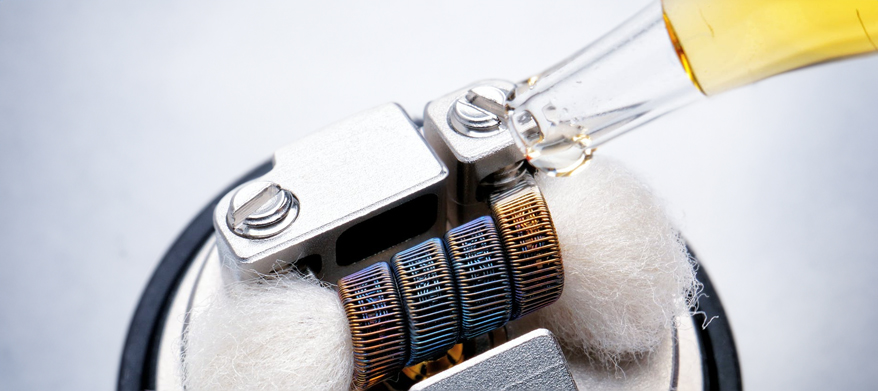
If you use a rebuildable atomizer, coils that are clogged will soon lose taste and vapor output. This is because the material that gets stuck into the coils.
However, if you follow some easy steps your coils will be as good as new in no time.
First, you have to remove your wick from your coil; they should not be burnt. If your coils aren't too damaged, a mild dry burn would suffice.
However, if this doesn’t work you can try a more thorough approach of cleaning the coils. Below are listed some of the ways to clean your Rebuildable coils.
- Remove the wicks from the coils.
- Dry Lightly burn your coils (don't let them glow too brightly).
- Remove your mod's atomizer.
- Submerge in rushing water.
- Use a toothbrush or a coil cleaning tool to gently brush them.
- Rinse once more.
- Finish with a last dry burn to eliminate any remaining water droplets.
How Do You Clean Out a Vape Tank?
Drain The Pod Cartridge
The first step in cleaning your vape tanks is to clean the pod cartridge. Take careful notice of how things fit together and make a mental note of what goes where. Maintain order and avoid losing any pieces. You may keep everything in a small dish while you do this. This will make cleaning much more efficient while also acquainting you with the intricacies of your tank. There are several methods for cleaning your vape tank, but these are the most effective.
Warm water works nicely if your favorite vape tank is somewhat clean. Disassemble the tank by separating the pieces. Place each component under running water and dry it with a paper towel. Allow them to air dry until no water or condensation is apparent. If you haven't cleaned your tank in a while, you may need to take an extra step.
Fill your cup or dish halfway with water. Put it in the microwave for two minutes. Meanwhile, rinse the tank pieces under the faucet to get the process started. After that, remove the cup or bowl from the microwave and set the dismantled tank inside.
How to Clean a Vape Battery?
One of the most important elements to maintain cleanliness on your vaping devices is the battery. It provides electricity to the device, allowing it to heat up and produce vapor for inhalation.
Steps to Clean a Vape Battery:
- Take the battery out of your vaporizer equipment.
- Isopropyl alcohol should be applied to a cotton ball, pad, or Q-tip.
- Wipe down the battery connector where it connects to the cartridge. This is an important location to maintain cleanliness in order for the battery to create a secure, clean connection to the heating chamber or prefilled cart.
- Finally, softly wash the vape pen battery's power button to remove any residue and prevent blockage.
Prevention is Better than Cure:- Take these precautions if you wish to make your vape last longer
1. E-Juice is Responsible for the Burning of your Coil:
Bottom Dual Coil clearomisers (BDCs) will not be able to draw in enough e-liquid if the e-liquid level is below the holes in the atomizers. This increases the possibility of dry burn. This not only tastes bad, but it also risks destroying your atomizer.
2. Bad Terminals Affect the Overall Performance of the Vape:
If the battery isn't connecting, the terminal may have been pushed in. Pull it out carefully with a wooden toothpick (it just needs to come up a centimeter or so). Please be cautious when doing so, as any damage may void the warranty.
If your battery isn't connecting, a quick fix for when you're out and about and need a vape is to push the button and slowly twist the clearomiser on its thread till you hear a fizzing sound. But be careful not to overtighten the clearomiser while doing so!
How to Store a Vape Pen?
Keep your Ecigs Away from Direct Sunlight
The air holes on your clearomizer are designed to provide enough airflow over the coil to keep your vape at a pleasant temperature. They are also necessary for keeping your wick moist with e-liquid. If you leave your e-cig on its side or upside down, the e-liquid will ultimately seep through these holes.
Frequently Asked Questions:
1. Can you Clean a Vape Pod with Water?
Plain water is the best way to clean vape pods. Begin by filling a basin halfway with water. The temperature of the water should be warm, but not boiling. Take the pod and deconstruct it as completely as possible.
2. Can I Clean the inside of my Vape?
Your vaporizer, like anything else you use on a regular basis, should be properly maintained and kept clean. While the frequency with which you clean your vaporizer depends on how frequently it is used, we recommend that typical users clean their vape once per week.
3. What Happens if you Don't Clean your Vape?
While e-liquids should not stain your vape tank, they might leave a sticky residue or muck if your tank isn't cleaned on a regular basis. This residue build-up will ultimately impair the performance of your vape mod and ruin your desired vape juice flavor and satisfaction.
4. How often should you Clean your Vape Device?
If you just use your vaporizer sometimes, you don't need to clean it very often. Once every few weeks, or perhaps once a month, is most likely sufficient. If you use your vape frequently, the muck will soon collect, and you'll probably want to clean it every few days.

